Faithfull No.4 Plane Review

One of the apprentices at work added a new tool to their kit. Wisely, they added a smoothing plane. I took some time to show them the basics of how to get the plane sorted. They chose a Faithfull No.4, very much a budget tool here in the UK, similar in price to a eBay Stanley. It came with a block plane as well, but more on that another time. First job was to wipe the tool down to remove the protective oil from the surfaces and some closer inspection. The frog was set back too far in the body of the plane, it’s not a big issue, we moved it forward until it was flush with the back of the mouth. The adjustment of the frog was OK. For me, when a frog is flush with the back of the mouth, there it stays, I use the cap iron to help deal with nasty grain. But for those that want to move a frog more often it won’t be a nice experience. The retaining screws feel cheap and soft and the main screw at the back that moves the frog backwards and forwards has a nasty action. It’s not the same design as you’d find on an old Stanley which is a shame as they Stanley design works rather well.
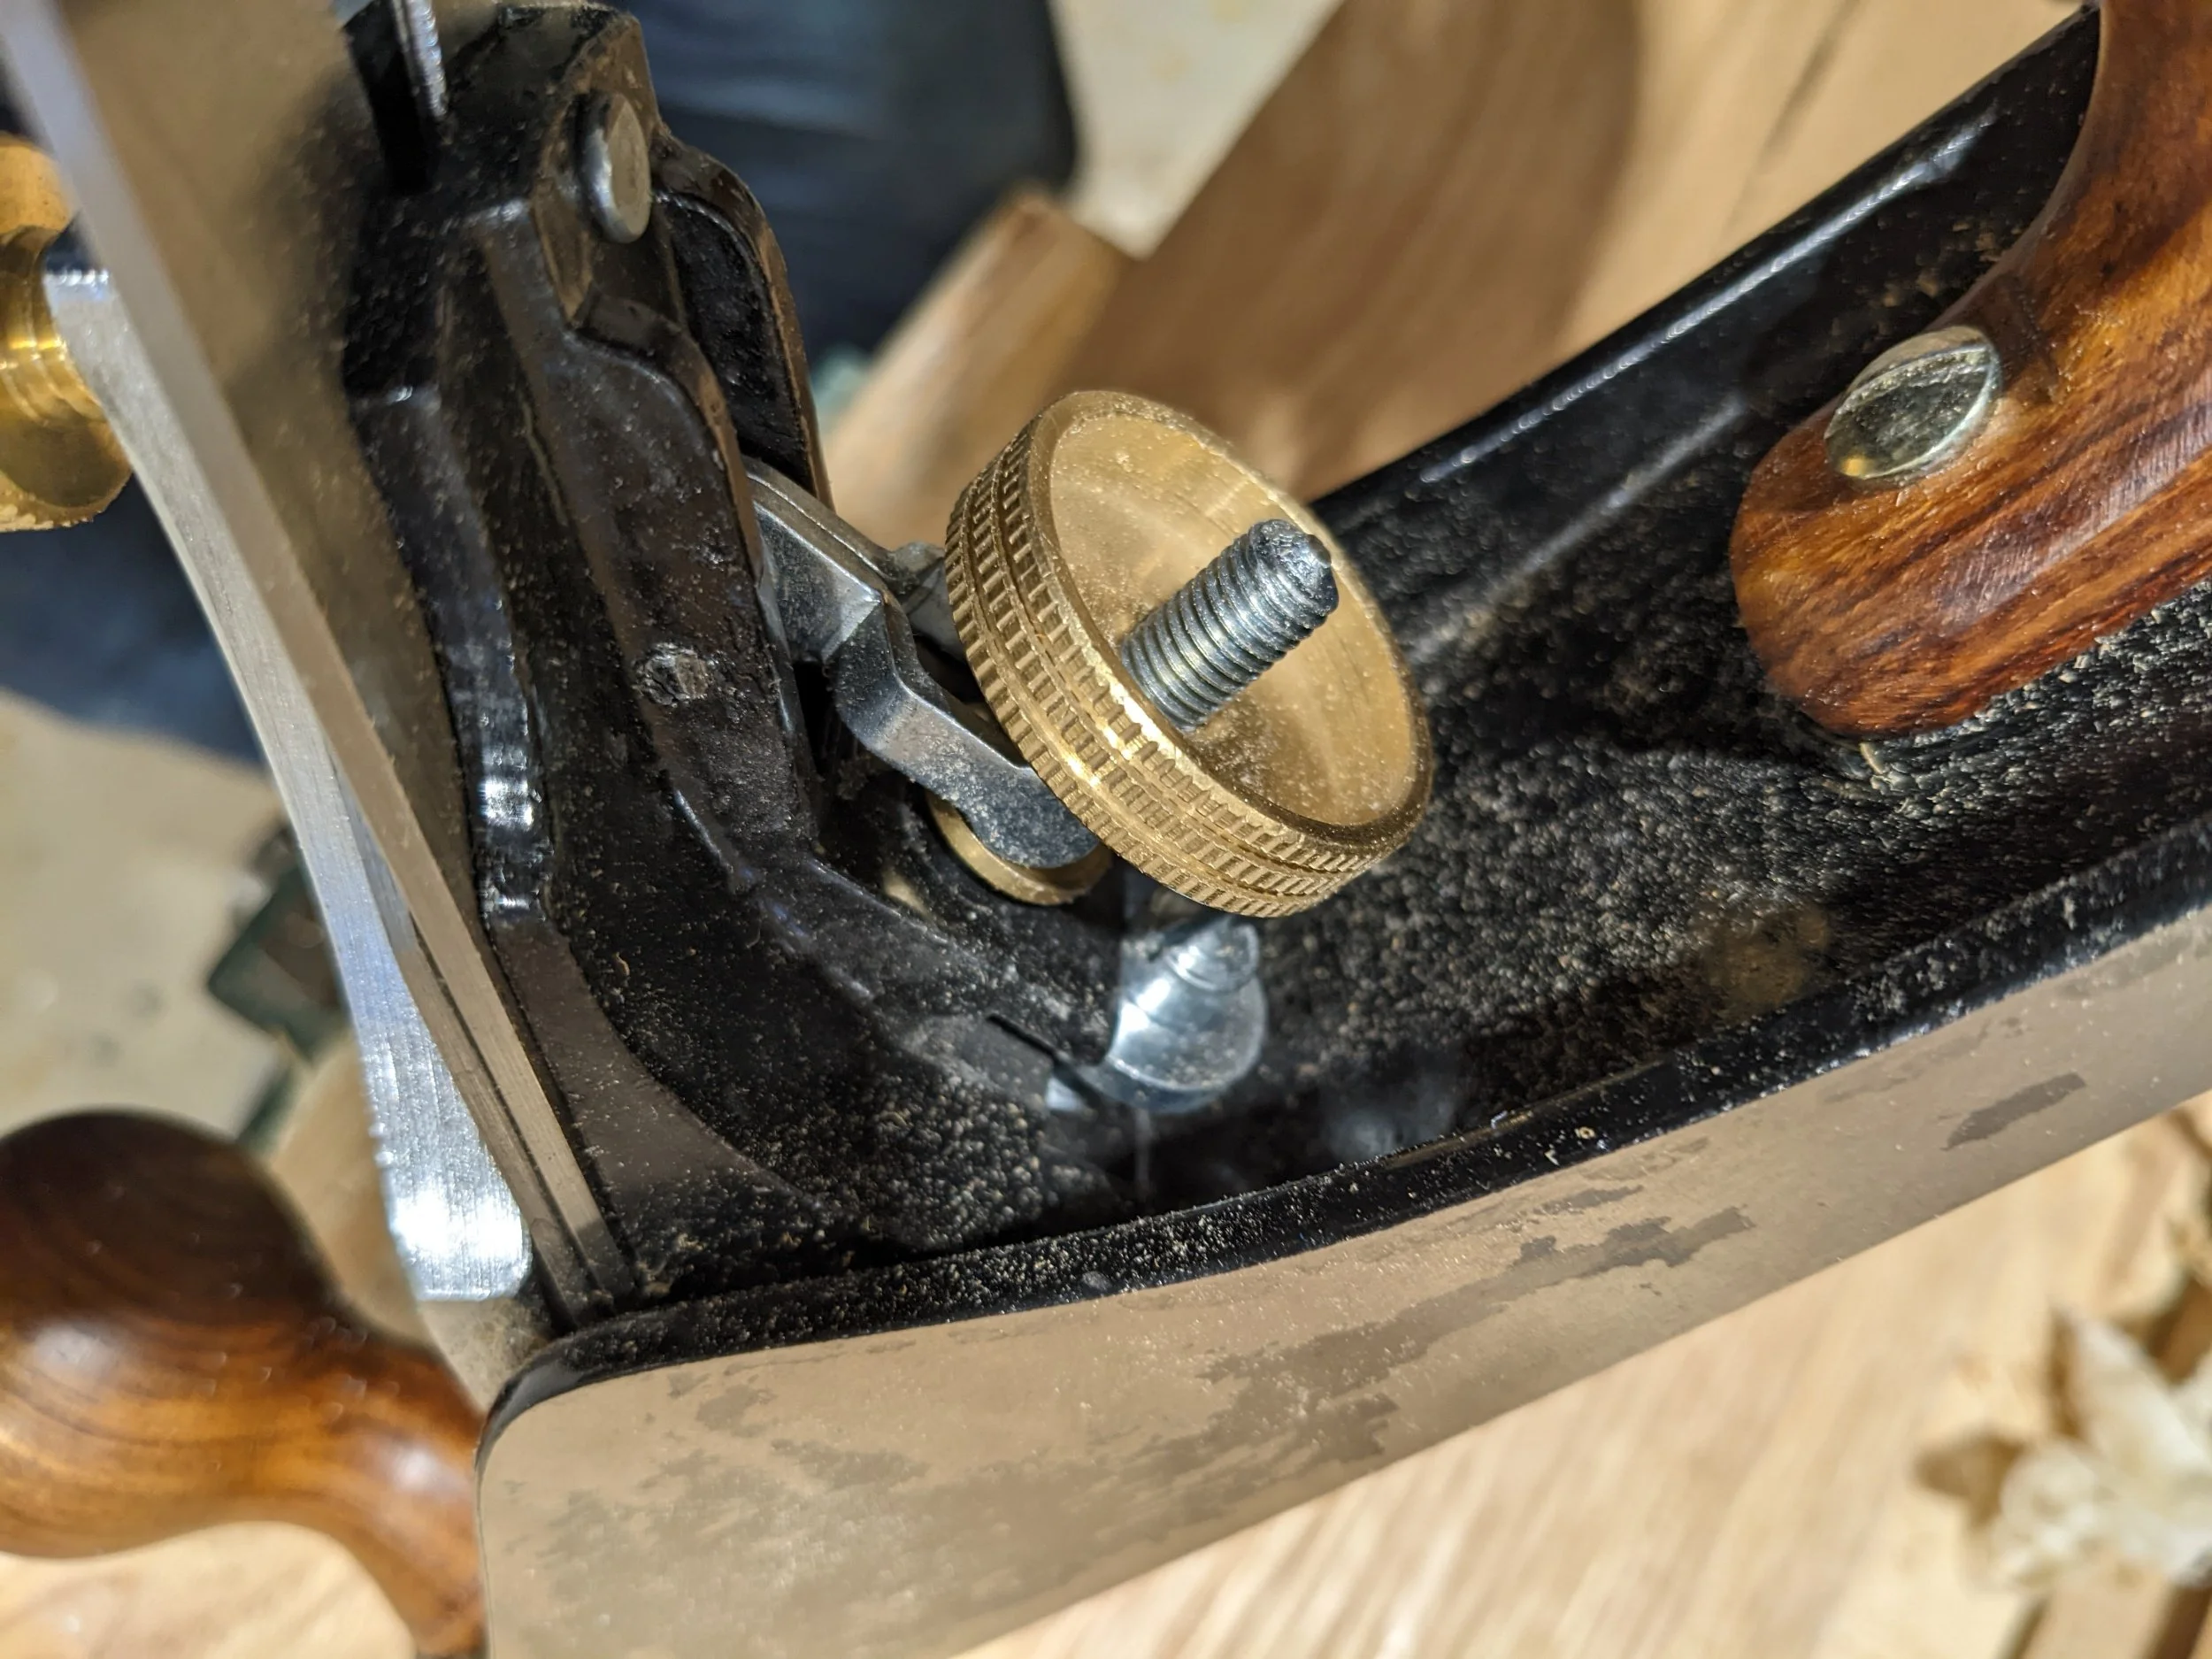
The overall fit and finish is what you'd expect at this price point. It’s nice to have wooden handles instead of the hollow plastic handles that are found on the modern Stanley Bailey’s. The chrome lever cap had quite a few scratches and the casting had a few pits. These defects don't effect how the tool works, it's just what we found on this particular plane. I don't care for lever caps that operated by brass a brass screw. Even though the design is valid and you'll find it on old and modern infills, I don't care for it on a metal bench. It slows down the sharpening cycle and it takes longer to get the correct tension each time.
We put a straight edge onto the sole and held it up to the light. There was a massive hollow down the length of the sole allowing lot’s of light to pour through. I don’t use feeler gauges but I was able to slide a piece of paper under the straight edge. This is a massive issue. No matter how sharp this plane was going to get, it would never take a consistent shaving. Luckily I have some 120grit adhesive backed abrasive sheet. We stuck this down onto a machine bed and flattened it enough to allow good work to be done.
We eased the edges of the castings at the same time. New tools always feel harsh and softening the edges saves the work and makes the tool feel better in the hand. So next to the iron. The screw that holds the cap iron and cutting iron together is a very sorry piece of work. It’s domed instead of the nice flat head that you get in a good vintage model. This means there was very little area to use your fingers to apply initial torque to position the cap iron. The screw also feels soft, not sure how well that’s going to do over the long term. A nice detai is the depth adjustment wheel. It's large and has a deeply knurled texture. Far superior to what you find in really early Stanley's that have quite tiny wheels.
The grinding on cutting iron bevel was acceptable and set at near enough 25 degrees. We honed and lightly cambered the profile of the iron in the normal way. The face of the iron needed a reasonable bit of work to remove the bulk of the heavy grind marks. This will continue to improve each time the burr is backed off. It’s difficult to say how durable the edge will be, but it honed well enough but did feel a little soft. I suppose the apprentice will have plenty of opportunity to practice their sharpening skills.
So to the trial cuts. I fully expected the pane to clog with shavings, forcing themselves under the cap iron, but to my surprise it was alright. The wood doesn’t know the difference, as long as the edge is sharp and the sole is flat enough, results are normally pretty good. Both oak and pine gave a clean finish working both with and against the grain. Admittedly we were not going for a really tight setting cap iron setting, but it was close enough so that it would have highlighted a problem. However, for me, I would of much rather bought a second hand Stanley or one of it’s derivatives. The reality is that without someone experienced at hand and a few sundries, the Faithfull No.4 we picked up would of caused endless frustration. Enough even for an inexperienced person to dismiss the usefulness of a good smoothing plane at the bench.
In my opinion, this particular Faithfull No.4 would be OK as a back up tool, something you took to site and used for rougher work. It gave me no pleasure to use, but having said that it did work. Just be prepared to do some work to get the best from it if you choose to buy one. I’d go for a vintage over this, any day of the week
If you've own and use a Faithfull bench plane, feel free to share your experiences in the comments.